Beekeeping: A Complete Guide to Beekeeping for Beginners
October 7, 2024
Jim Whiteford
Discover everything you need to know about beekeeping, from basic beekeeping for beginners to advanced hive maintenance. Learn how to start beekeeping, understand hive structure, and harvest honey successfully.
Beekeeping
Table of Contents
Beekeeping: A Complete Guide to Beekeeping for Beginners

1. Introduction
The Honey bee is an amazing insect that not only produces tasty honey for you to eat, but also plays a vital role in our eco-system, by pollinating trees and plants, as well as our crops that we grow.
I have been Beekeeping now for 10 years and have enjoyed experimenting with many different styles and hive types. I now practice a more "Natural approach" for many reasons which I wont cover in this blog as it deserves its own and this will focus on the more popular methods for learning.
Unfortunately, according to an article, studying bee populations, it has been found there has been a decline of around 25% between 2006 and 2015. Making it more important now than ever to give you an understanding of the hive to get you started on your beekeeping journey.
2. Understanding the Basic Structure of a Beehive
I think two hive types are great for beginners: the Langstroth hive and the National hive. Langstroth is super popular in the USA and many other places, while the National hive is mostly used in the UK. These hives are stacked vertically, which makes them easy to work with once you get the hang of it.
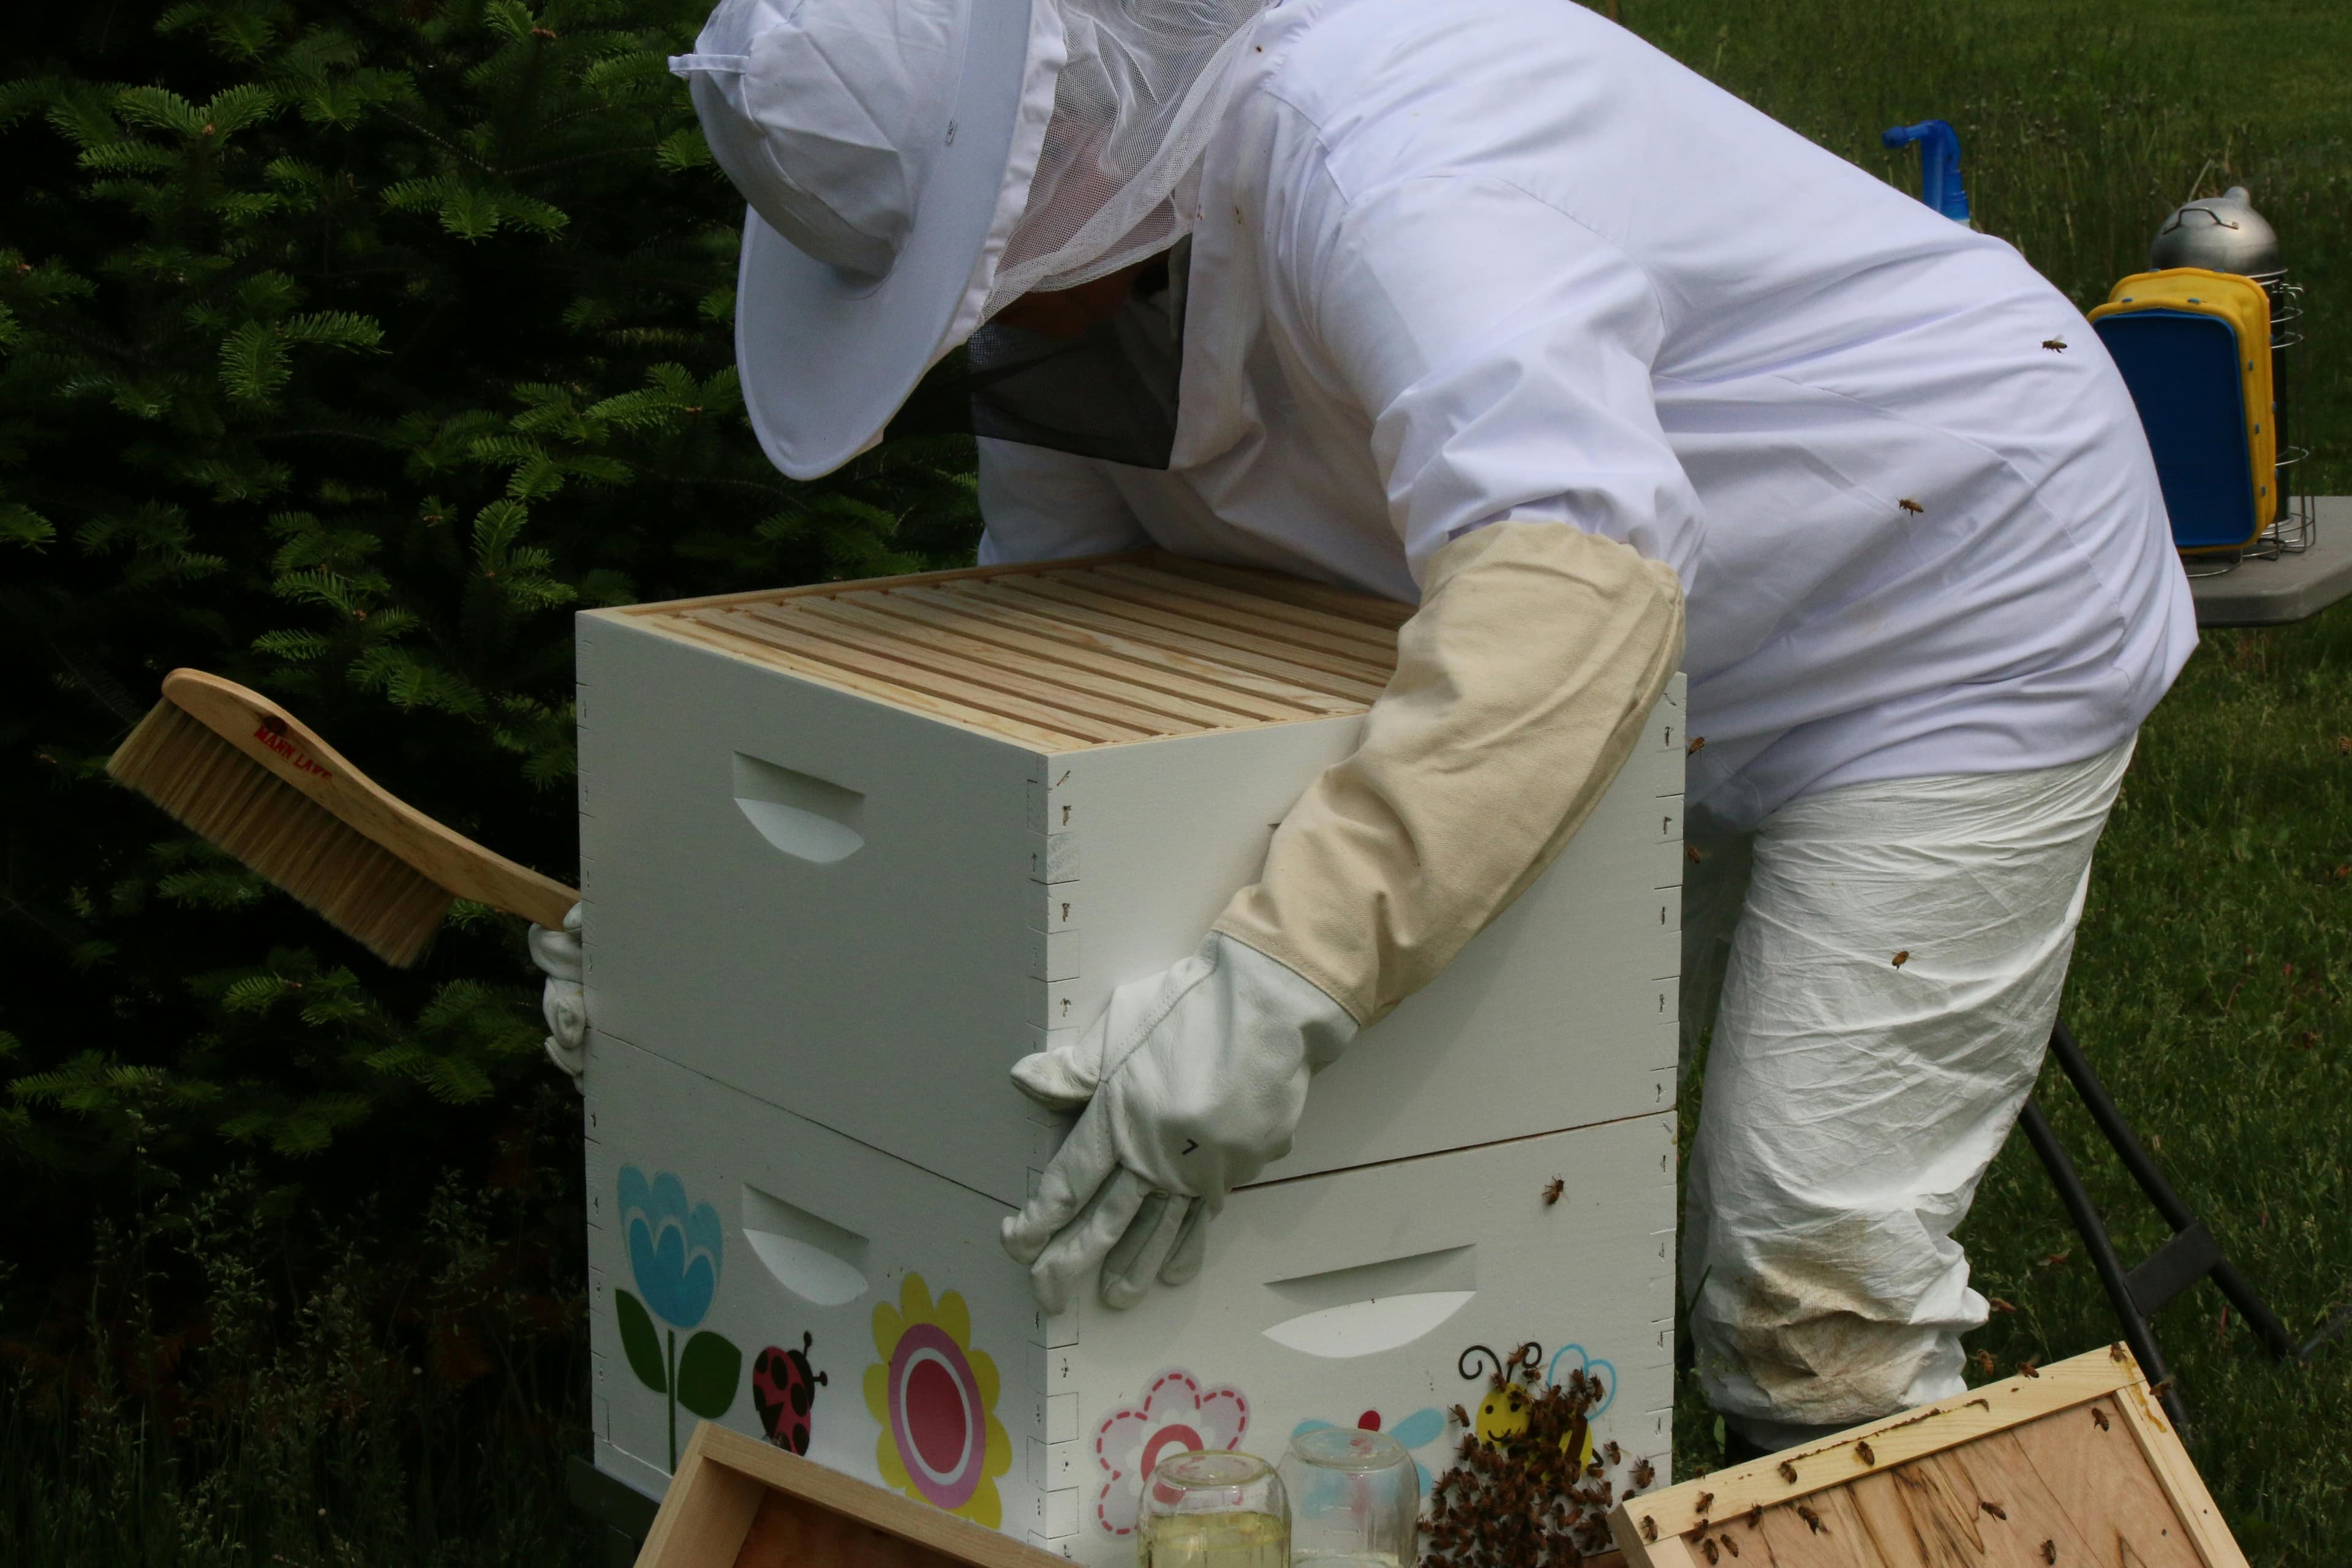
Because they’re so widely used, there’s a ton of advice out there, plus lots of equipment to choose from. It makes learning easier, especially when you're just starting. The design is standardized, so you can switch frames and parts between hives, which is pretty convenient.
However, even though these hives are common, managing them can be tough. The honey boxes get heavy, which can make them hard to lift. If that’s a concern, you might want to think about a horizontal hive instead. But before we dive into that, let’s look at what makes a vertical hive tick.
2.2 Hive Parts and their functions:
- Roof: This will provide protection from the elements and stop rain and snow from entering the hive, typically there will be some sort of ventilation as part of it.
- Crown Board: Usually made up of a thin piece of plywood but can also be plastic or even a piece of material. It covers the box below allowing the lid to be removed without disturbing the colony and would typically have a hole to place feeders on.
- Honey Super: This box is usually smaller and sits above the main brood box. it will be where the bees store there surplus honey.
- Queen Excluder: This is a very thin piece of either metal or plastic and it will have many bee spaces in it which are the right size for worker bees to travel between but not allow the queen through. This is important so that you don't have her laying eggs within your intended honey frames.
- Brood Box: This box is typically the biggest box which will be at the bottom of the stack and houses the queen bee., as well as the brood frames which she will lay her eggs in.
- Frames: The frames will be sized to fit in the different boxes and there will be around 10-12 in each box. The frames can have ready made sheets of wax foundation installed to help with neater comb creation.
- Floor/Varroa Mesh Floor: The base of the hive is where your bees will come and go and can also include a slidable floor that allows for mite checks if this is part of your pest management.
- Entrance Block: Usually this is a wooden block that can be made larger or smaller to help with traffic flow and intruders.
- Stand: This will keep your hive of the ground providing better protection from damp.
2.3 Langstroth Bee Box Dimensions:
In the USA the internal dimensions of a 10 frame box are 18 3/4" long and 14 3/4" wide.
Shallow box depth - 5 11/16"
Medium box depth - 6 5/8"
Brood box depth - 9 5/8"
2.4 National Bee Box Dimensions:
In the UK the British Standard National Beehive box has an external dimension of 460mm x 460mm.
Shallow(super) box depth - 149mm
Brood Box depth - 225mm
14x12(B.S. deeps) - 315mm
2.5 Types of beehives for beginners:
As the National and Langstroth hives are two of the most popular in the world, my advice is to start with these because it will make the learning experience as easy as possible. Then once you have the basics, you can start exploring different types of hives and styles of beekeeping. That being said if your heart is set on a certain way of beekeeping absolutely go for it!
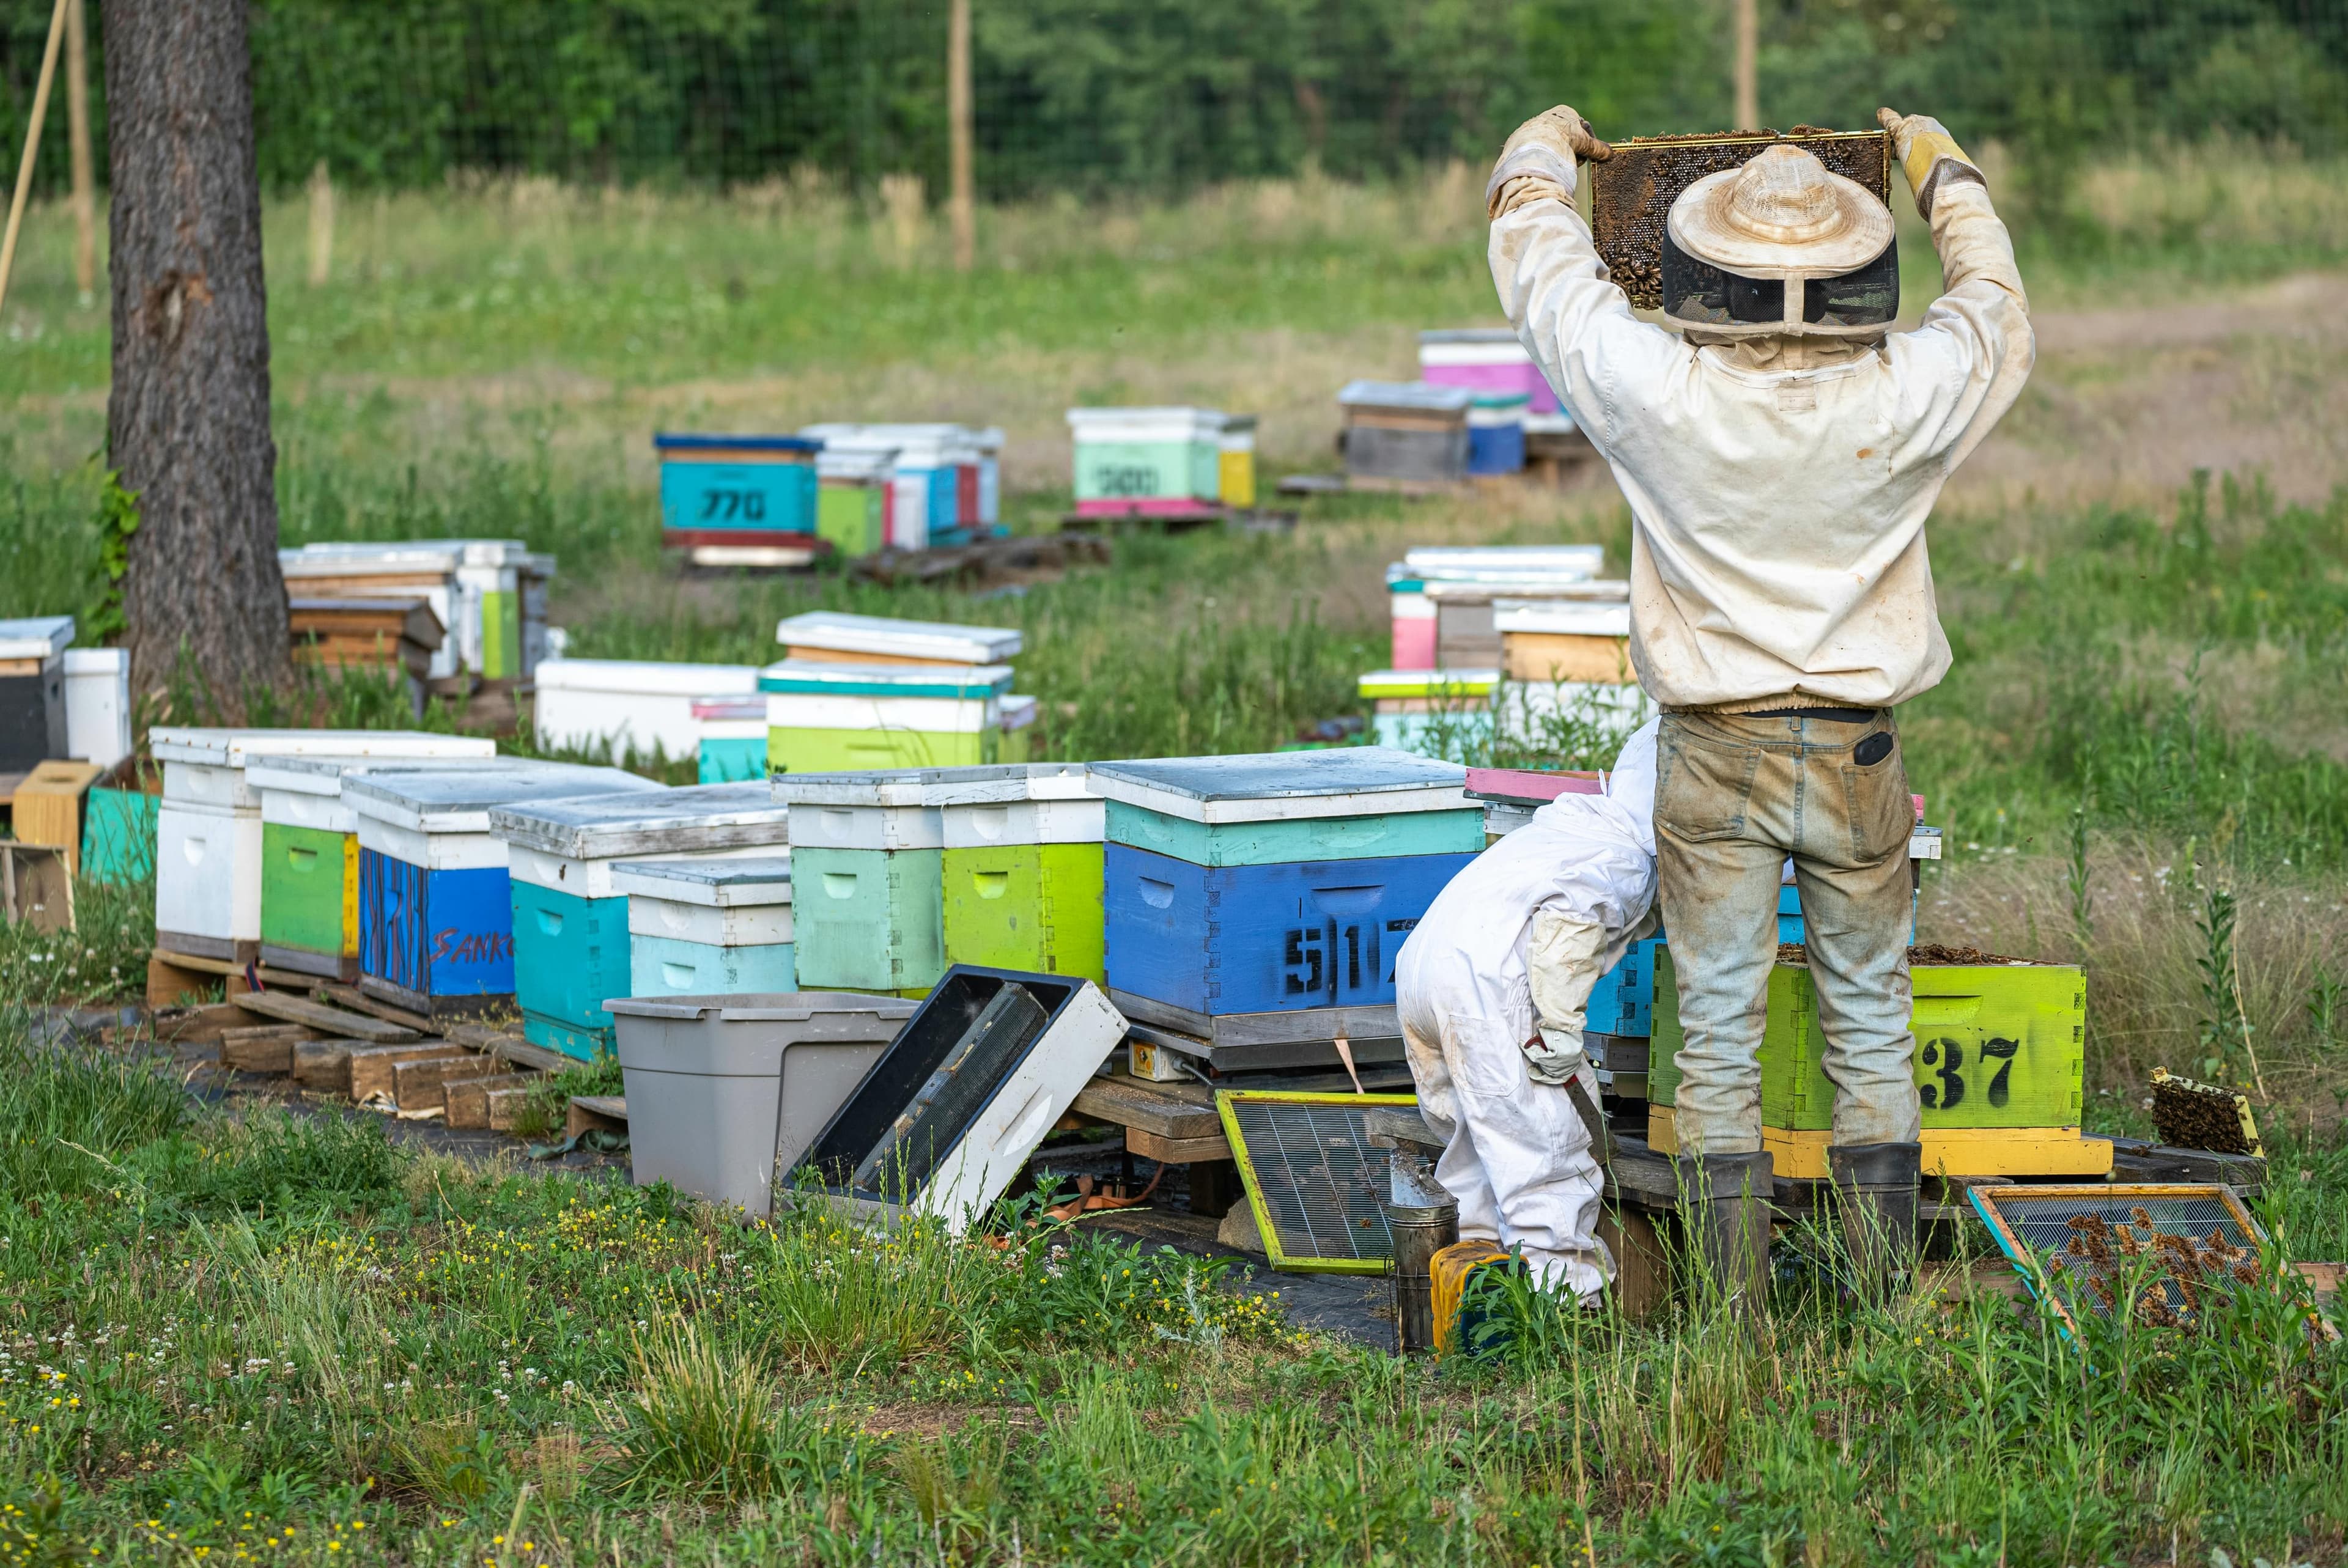
These vertical hives where designed and made with the commercial beekeeper in mind, allowing for maximum honey yield and ease of transportation but might not provide the best possible home for your bees, especially when your climate may be on the more extreme side of hot or cold.
2.6 Essential beekeeping supplies:
below is a list of all the beekeeping equipment for beginners.
- The Bee Suit - When you’re starting out with beekeeping, wearing a bee suit is super important. It keeps you safe from stings, and it helps you stay calm while working with the bees. I think beginners should use a full bee suit. It covers everything—head to toe—and gives the best protection. It’s hard to relax if you’re worried about getting stung. But as you get used to handling bees, things change. You’ll learn their behaviour and feel more at ease. For me, I don’t use a full suit anymore. Now, I wear a bee jacket with a veil, plus thick jeans. That’s enough for my setup because my bees are pretty gentle. This lighter setup feels better, especially on hot days. I can move easier, and I don’t get as sweaty during hive checks. It’s all about finding what works best for you and your bees. Comfort makes a big difference.
- Gloves -I always wear gloves when I work with my bees. They protect my hands and arms from stings. When you’re reaching into the hive, gloves make everything feel safer. Just like bee suits, there are different kinds of gloves to choose from. Some gloves are thick, so stings can’t get through. Others are thinner, which makes it easier to move your fingers and handle frames. It depends on what you need. Beginners might like thicker gloves for extra protection, especially if the bees are feisty. Over time, you’ll figure out what works for you and feels the most comfortable.
- Smoker - When I check my hives, I always use a smoker. It helps keep the bees calm so I can work without trouble. People have been using smoke with bees for hundreds of years—it’s not a new idea. But the smoker we know today? That was made by Moses Quinby in the late 1800s. Bees smell smoke and think there might be a fire. It blocks the alarm pheromones they use to warn each other. Without those signals, they stay calmer. The smoke also makes them eat honey, like they’re getting ready to leave the hive. Full bees move slower, which makes my job easier. Smokers aren’t fancy, but they’re powerful tools. Without one, inspections could get messy. It’s interesting how something so simple has such a big effect on bee behaviour. Over time, you get the hang of using it just right—enough to calm them, but not too much.
- Hive Tool - A hive tool is something I can’t work without. Bees stick everything together with propolis—that glue-like stuff they make from tree sap—and the hive tool helps me pry frames and boxes apart. Without it, getting into the hive would be tough. The tool has two ends. One side is flat and sharp, perfect for scraping off wax or propolis from the frames or edges of the hive. The other end, usually curved or hooked, helps lift frames that are stuck tight. Sometimes I even use it to pull out nails or separate boxes during inspections. It’s simple but makes a big difference. Every beekeeper needs one. Handling the hive without it would be frustrating. Over time, it becomes second nature to reach for it. Bees might be small, but their work sure makes hive management tricky without the right tools.
- Feeders - When flowers aren’t blooming, feeders become really important. Bees can’t find enough nectar, so we help them. I use sugar syrup most of the time. It’s simple and works well, especially for a new colony that’s just starting out. The type of feeder? That depends on the hive. Some feeders fit inside, while others sit on top. You pick what works best. In colder months, I’ve tried fondant too. But honestly, nothing beats their own honey. That’s the best food for bees. Before I take honey, I always leave plenty for them. Healthy bees need their own food. It’s natural.
2.7 Cost breakdown for starting a hive:
How much does it cost to start beekeeping? below I have listed some average costs of the parts from the UK in Pounds and USA in Dollars. Keep in mind you can get much more expensive and cheaper parts than what I've listed. I have done my best to give an average cost for you.
- Hive starter kit - £220 / $200
- Bee suit - £100 / $150
- Gloves - £15 / $20
- Smoker - £20 / $20
- Hive Tool - £8 / $10
- Feeder - £15 / $20
- Nucleus Bee Colony - £300 / $200
- Total Cost Overall - £678 / $620
3. The Fascinating Social Structure of the Hive
Within the honey bee hive there is a hierarchy that revolves around 3 types of bee: the queen, the workers and the drones. Each with their own specific roles and responsibilities.
3.1 Queen Bee Behaviour and Role:
Usually there is only one queen bee within a hive with few rare exceptions. her role is mostly too lay eggs as well as keeping the hives social structure. Her queen bee behaviour is due to the pheromones she produces which supress the possibility of any worker bees from reproducing and signals her presence within the colony.
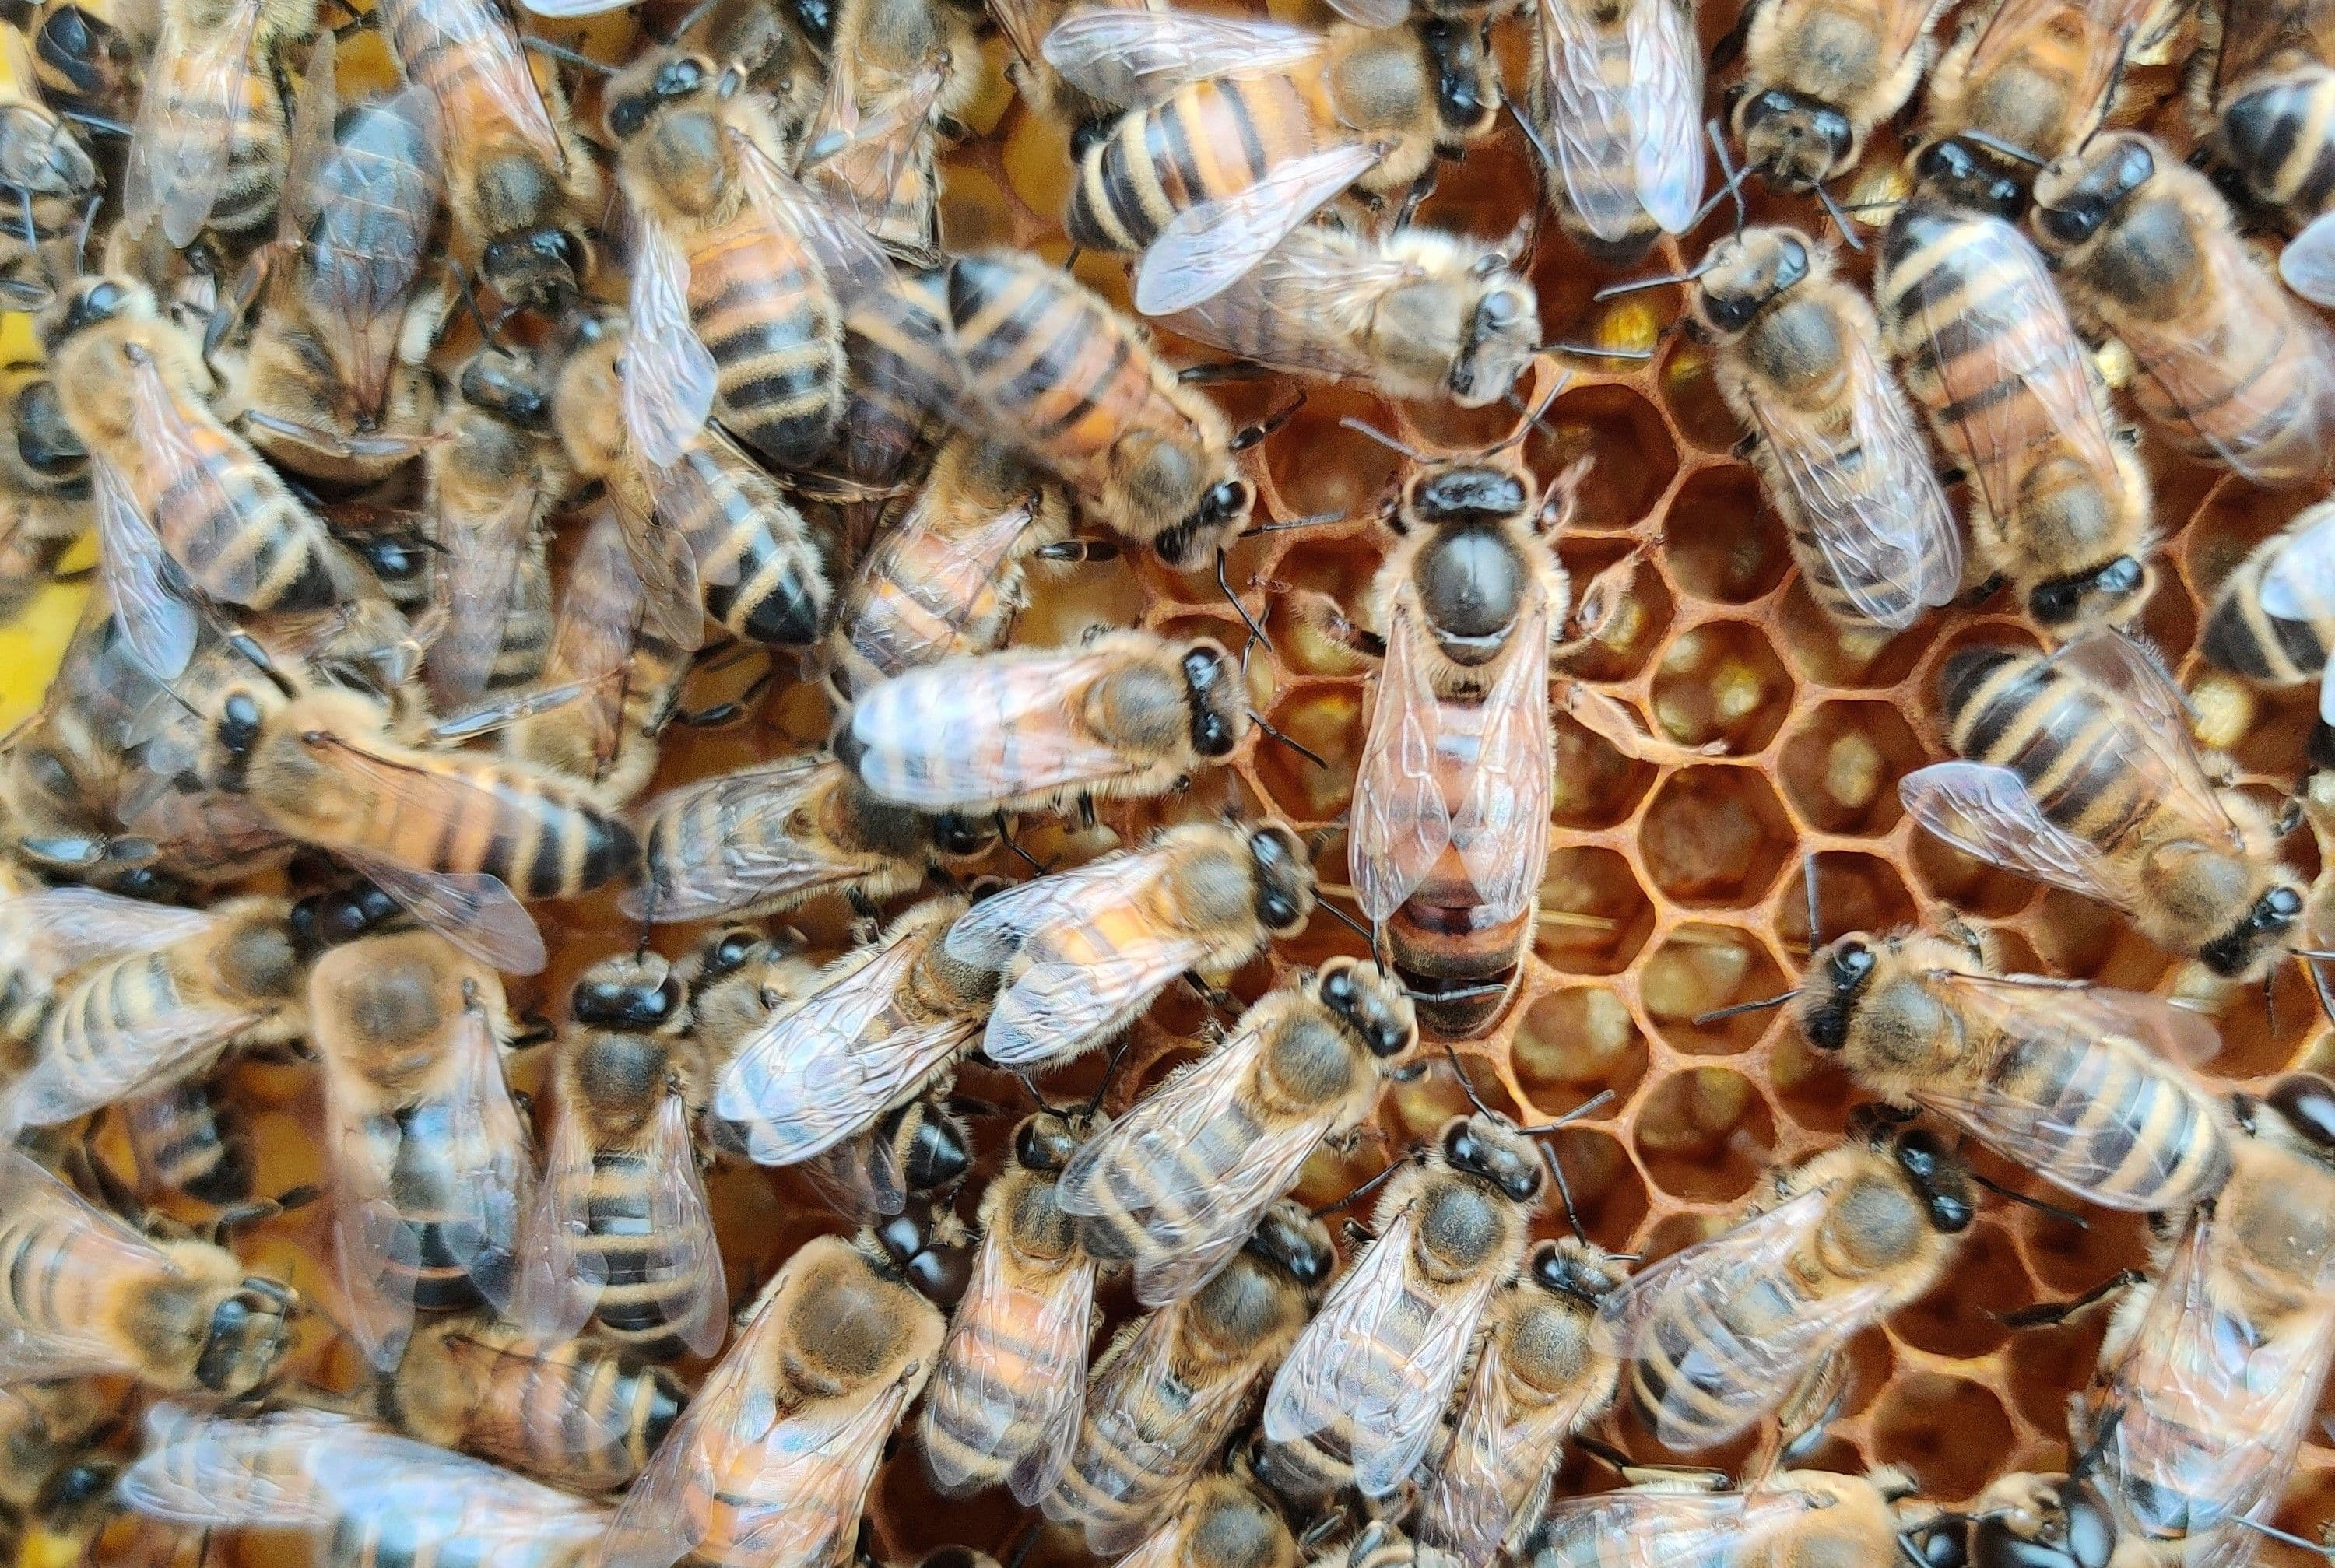
A virgin Queen will mate only once and her lifespan could be between 2-5 years. Unlike workers and drones, a queen is made in a special "queen cell" which is much larger and tends to be on the sides of frames, she is fed royal jelly which is how a normal female worker egg can become a potential future queen.
3.2 Worker Bee Duties and Role in the Colony:
A worker be is just a sterile female. They are smaller than the queen and have smaller abdomens. They have a variety of roles within the colony which changes as they age, The worker bee duties include:
- Nursing - Once a worker bee emerges from there cell they will immediately clean it ready for another egg to be laid there, then there job is to look after the other developing brood b y feeding and cleaning, also it is there job to feed the queen cells royal jelly.
- Undertaking - As the worker get a bit older she will start to remove any dead bees and clutter in the hive. they are known to remove diseased brood before it can be spread in more "hygienic" colony's, a trait that is bred for.
- Builders - At around 12 days old the workers are able to produce wax which they will then start drawing out fresh comb. they will need to consume a lot of food during this portion of their life.
- House Bee - Her job as a house bee is to guard the hive entrance, making sure no intruders like wasps or strange bees get in. She also keeps the hive running smoothly by helping with temperature control. If it’s too hot, she fans her wings to cool it down. Too cold? She helps warm it up. House bees also work with nectar. They take it from the foragers and start turning it into honey. It’s a team effort. They pass the nectar back and forth, letting moisture evaporate until it’s ready to store.
- Forager - In her final stage, a worker becomes a forager. This means leaving the hive to gather nectar, pollen, water, and tree sap for propolis. Foraging is hard work, and most bees don’t live much longer after starting it. Every job matters. Without each role, the hive couldn’t survive.
3.3 Drone Purpose and Seasonal Patterns:
Drones are the male bees in the hive, and they really only have one job: to mate with a queen. They don’t do the other work that worker bees handle, like collecting nectar or protecting the hive. Their role is important for genetic diversity, though. In spring and early summer, drones leave the hive and fly to special places called congregation areas. That’s where they wait for queens to arrive. If a drone manages to mate with a queen, he dies immediately after—it’s a one-time job.
Later in the year, when food starts getting scarce, drones aren’t needed anymore. The worker bees push them out of the hive to conserve resources for winter. It might seem harsh, but the colony can’t afford to keep them around. Drones only live when their purpose is needed, and their whole life cycle depends on the hive’s timing and food supply.
4. A Step-by-Step Guide to Setting Up Your Hive
4.1 Pick the Perfect Location
I always pick a sunny spot for my hive, somewhere it’s not too windy. It’s better if the place is calm so the bees can work without being disturbed by strong gusts. The hive needs to be up on a stand, off the ground. This helps keep moisture out and makes it easier to check on the bees.
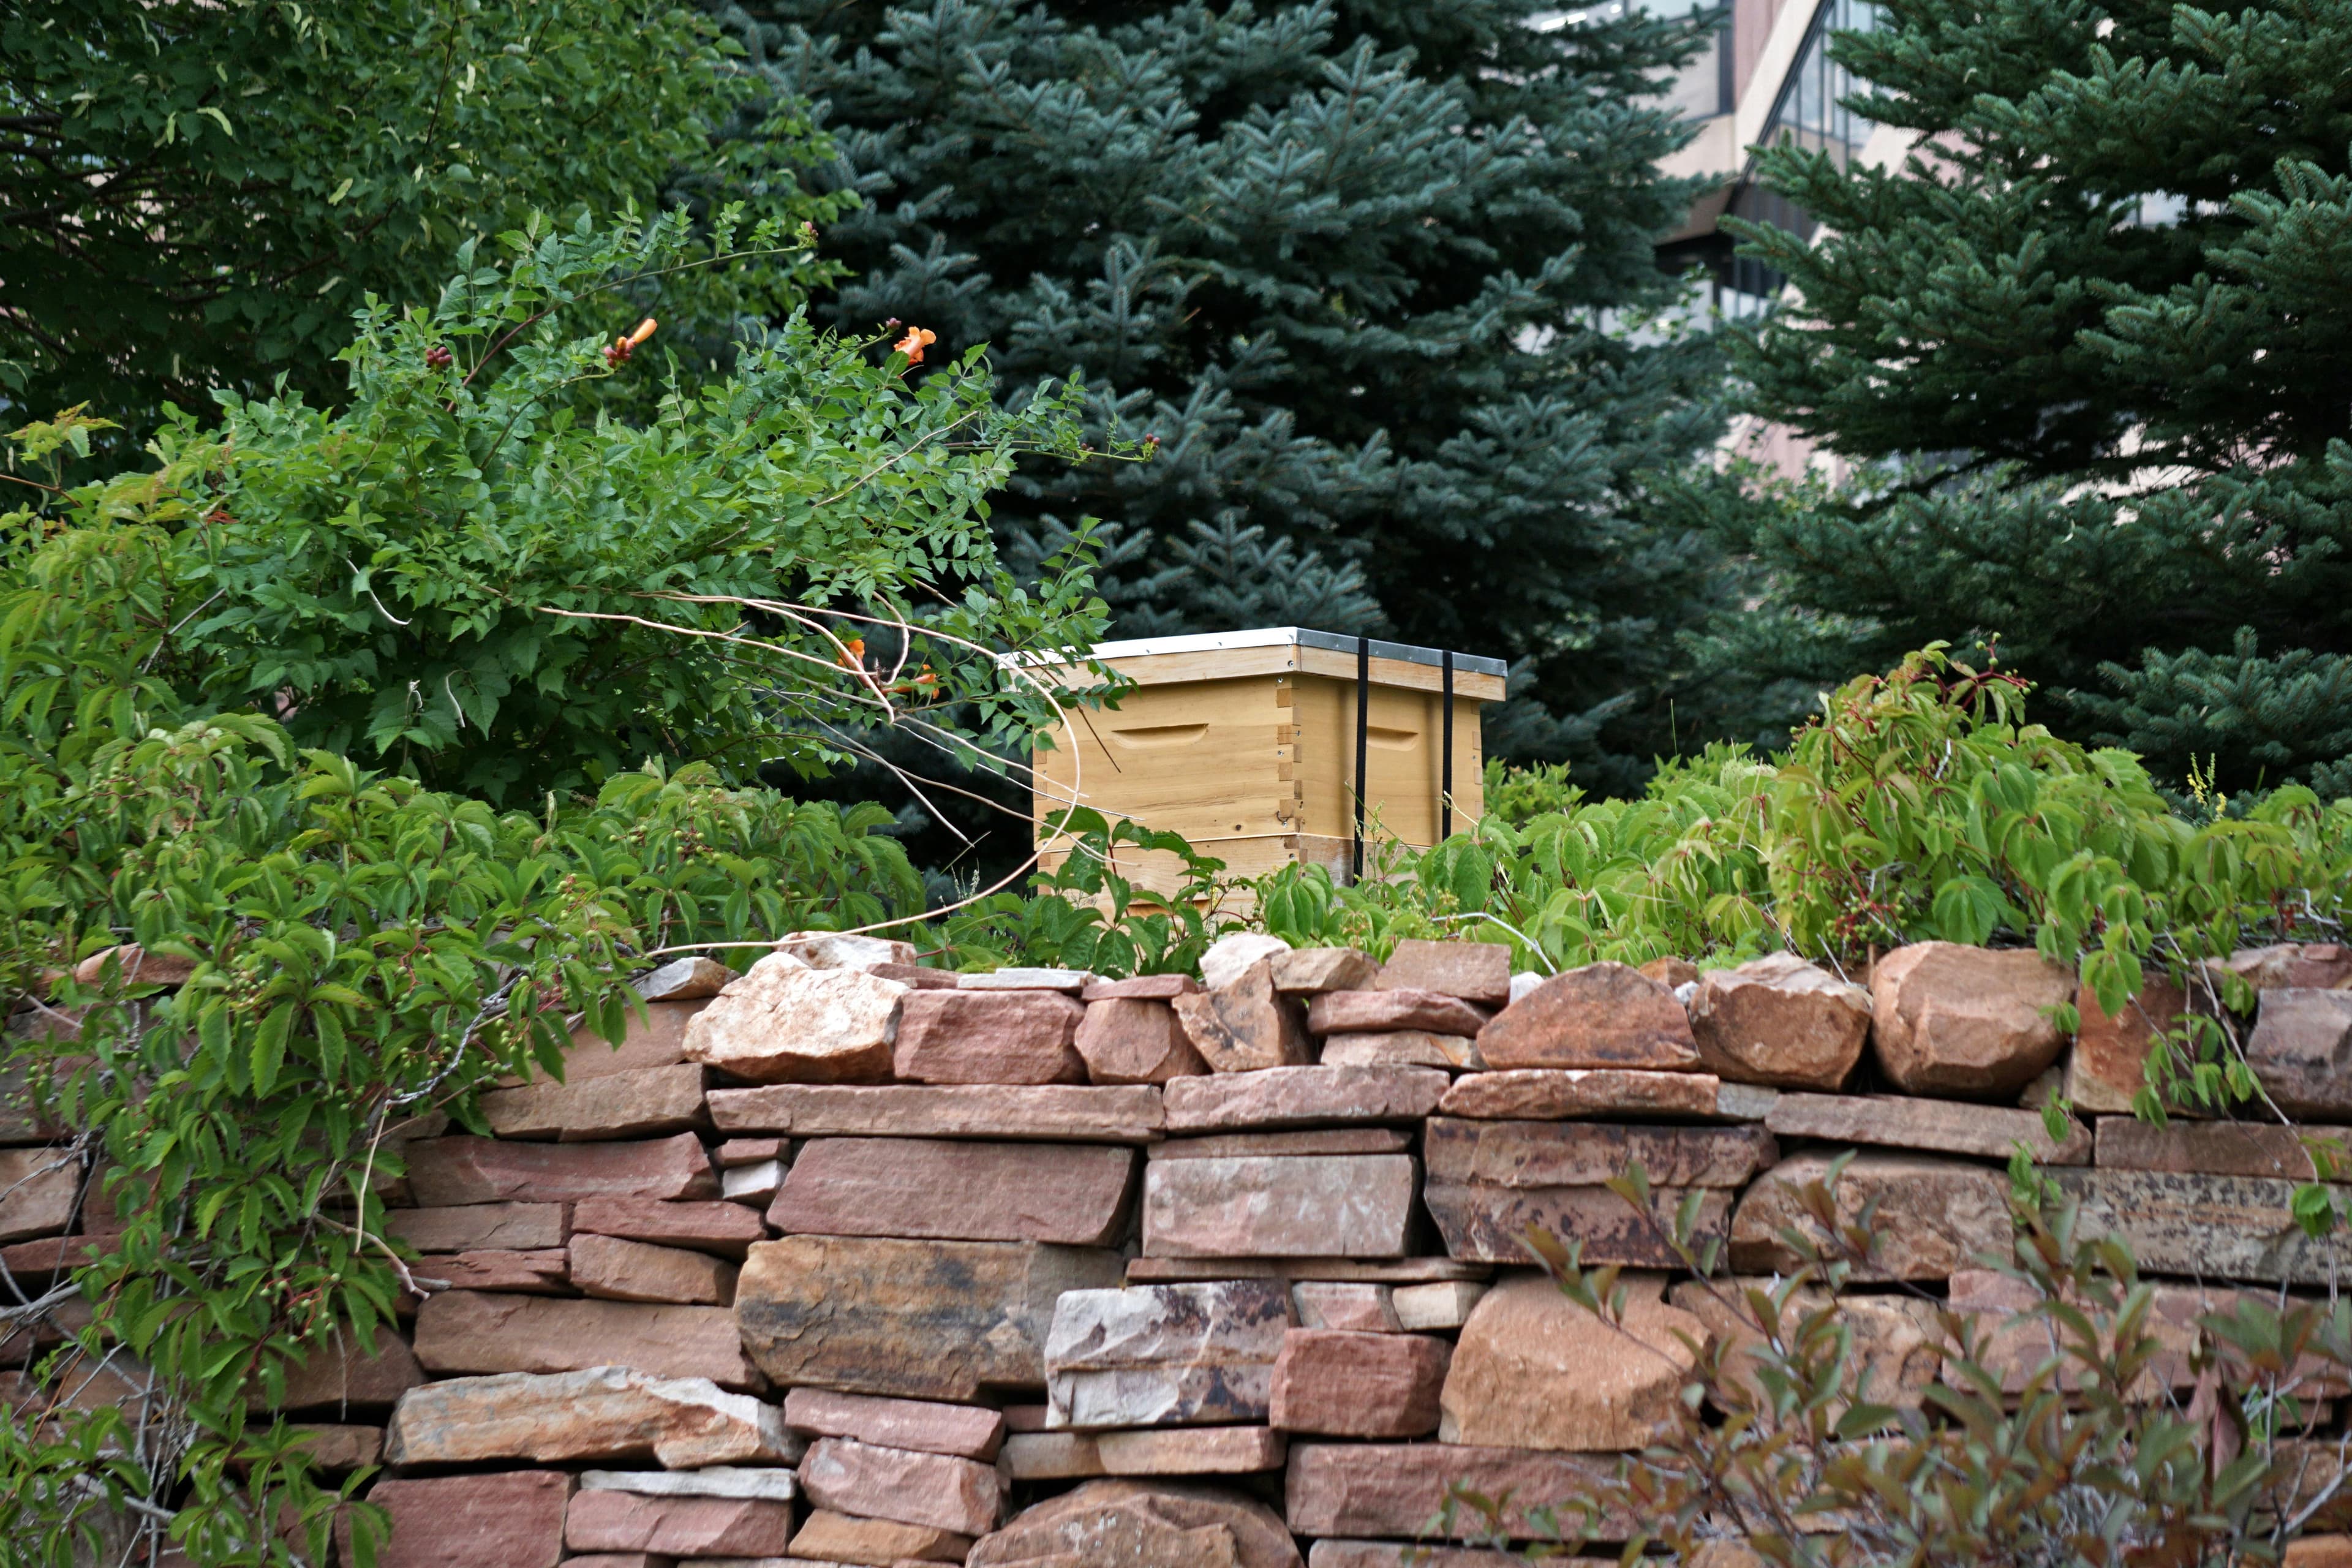
You want the hive to be level, too. If it’s tilted, the bees might have trouble building straight combs. This matters a lot, especially when I don’t use foundation wax. Keeping everything balanced is key for their work inside the hive.
4.2 Assemble Your Hive and frames
If you purchased a hive kit, follow the manufacturer’s instructions to assemble the hive and frames. Alternatively, you can buy a ready-made hive, which typically comes at a higher cost. A cedar wood hive is much more resistant to rot and does not require additional protection.
However, many beekeepers choose to treat them with linseed oil or paint, especially if they are working with cheaper pine hives. Begin by placing the brood box (the bottom box where the queen lays eggs) onto the hive base, and then add the honey super (the box where bees store honey) on top of that, covering it with the lid.
4.3 Introduce Your Bees
It’s easiest to start with purchasing a nucleus colony (nuc), which comes with a queen, workers, and some honey frames, making it an ideal option for beginners. However, there are ways to get bees for free, such as through swarm traps or swarm collection. These methods are more advanced, so I won’t go into detail here, but I like to mention them as options.
After acquiring your bees, place them in the brood box, arranging them the same way they were in the nuc, leaving equal gaps on either side to fill with your empty brood frames. Then, add the crown board, super, and lid to close the hive. Setting the hive entrance to its smallest size helps keep out unwanted visitors, such as wasps.
4.4 Install the Hive Feeder
When I first get new bees, feeding them is super important. Especially if there aren’t many flowers blooming yet. Bees can’t survive without food, so I use sugar syrup to help them out. A hive feeder works great for this. To make room for the feeder, I sometimes add an empty super on top of the hive. It gives the bees space and keeps things neat. But if you’re using a frame feeder instead, you don’t really need that extra super.
The goal is to make sure the bees settle into their new home without stress. They’ve got a lot of work to do, building comb and getting everything set up. Helping them early on means a stronger colony later. Every little thing we do now makes a big difference. Bees thrive when we set them up for success.
4.5 Monitor the Hive
When my bees are all settled, I make sure to check on them often. About every 7–10 days works for me. It’s good to look closely during these times. Healthy brood? That’s something I always look for—eggs, larvae, all lined up nicely. Honey is important, too. Sometimes pests sneak in, or diseases show up. You gotta keep an eye out for that stuff. If the queen doesn’t have enough space to lay eggs, it can mess things up for the colony.
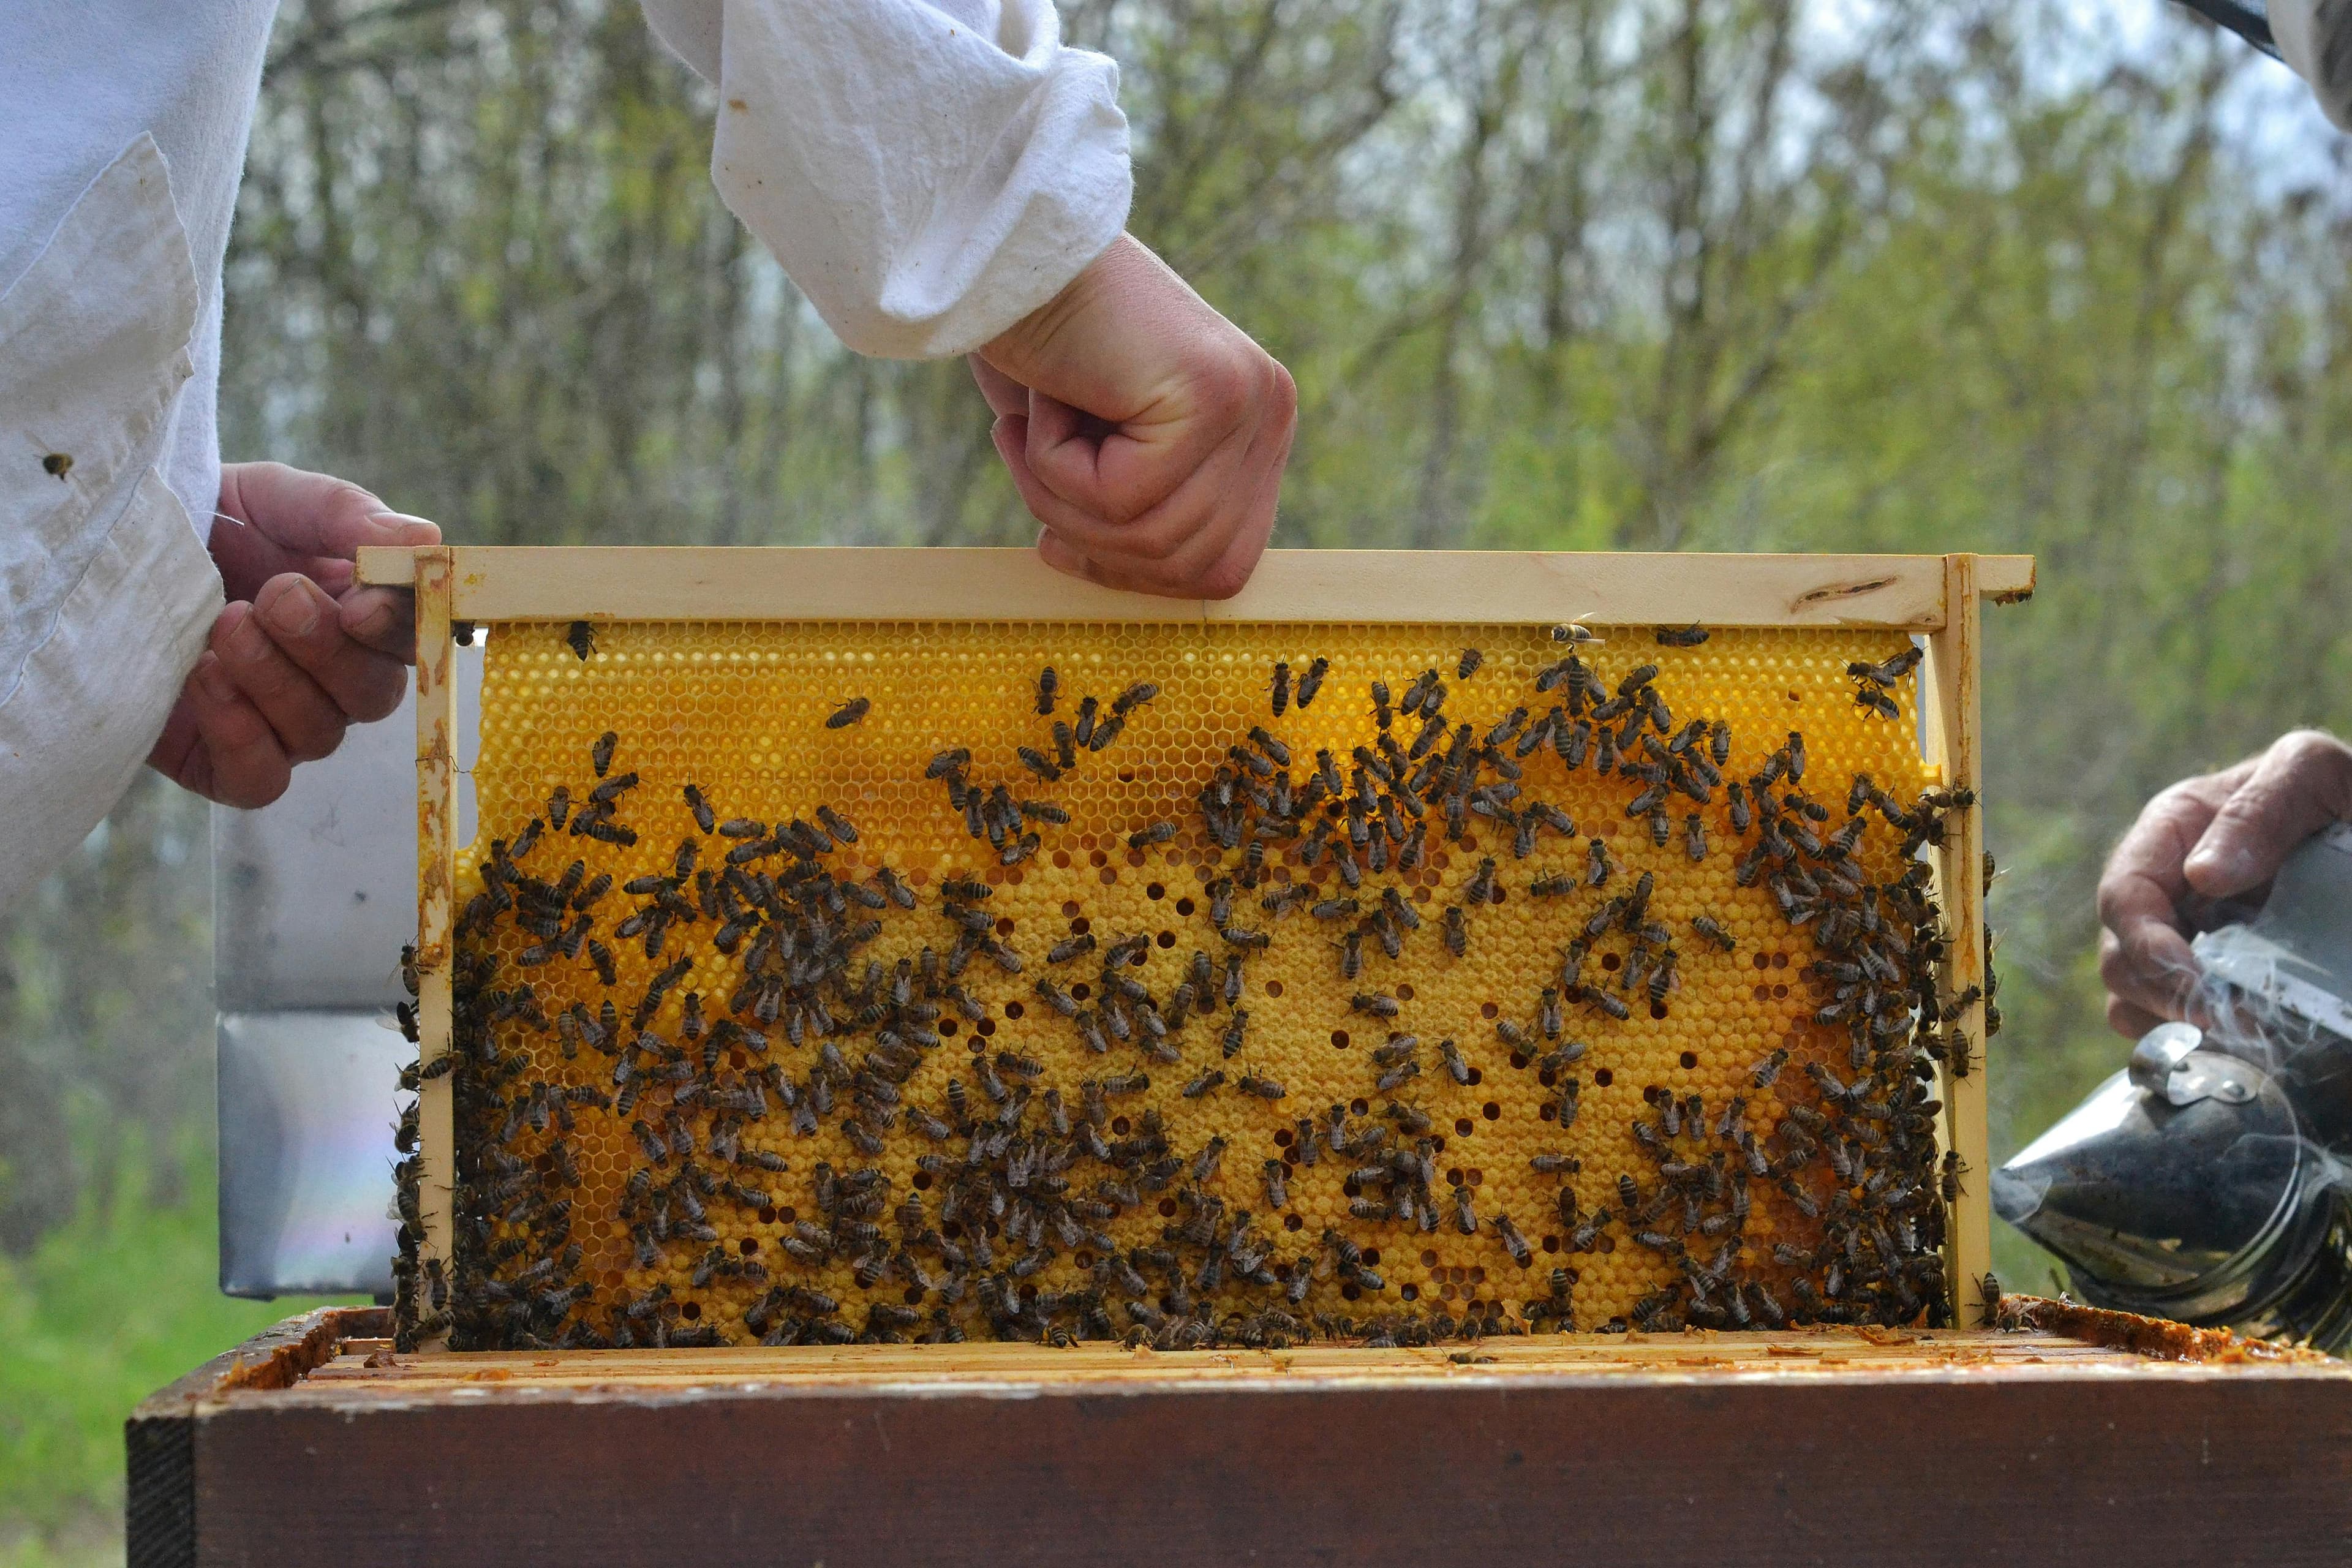
Space matters a lot. When I started, pictures and videos helped me tons. They showed me what healthy hives should look like. Now, it’s easier. Experience makes a difference. Over time, you notice details quicker. The patterns and signs start making sense. Every visit to the hive feels like learning something new. Bees teach you if you pay attention.
4.6 Adding honey supers
When I see the bees filling most of the brood frames—about 70 to 80%—I know it’s time to add the first honey super. That’s a good sign the colony’s doing well. They’re busy foraging, and you’ll start noticing capped cells here and there. This is when the hive feels alive with energy. I always put a queen excluder in place before adding the super. You don’t want her laying eggs up there where the honey’s supposed to go. That would be messy and not what we’re after.
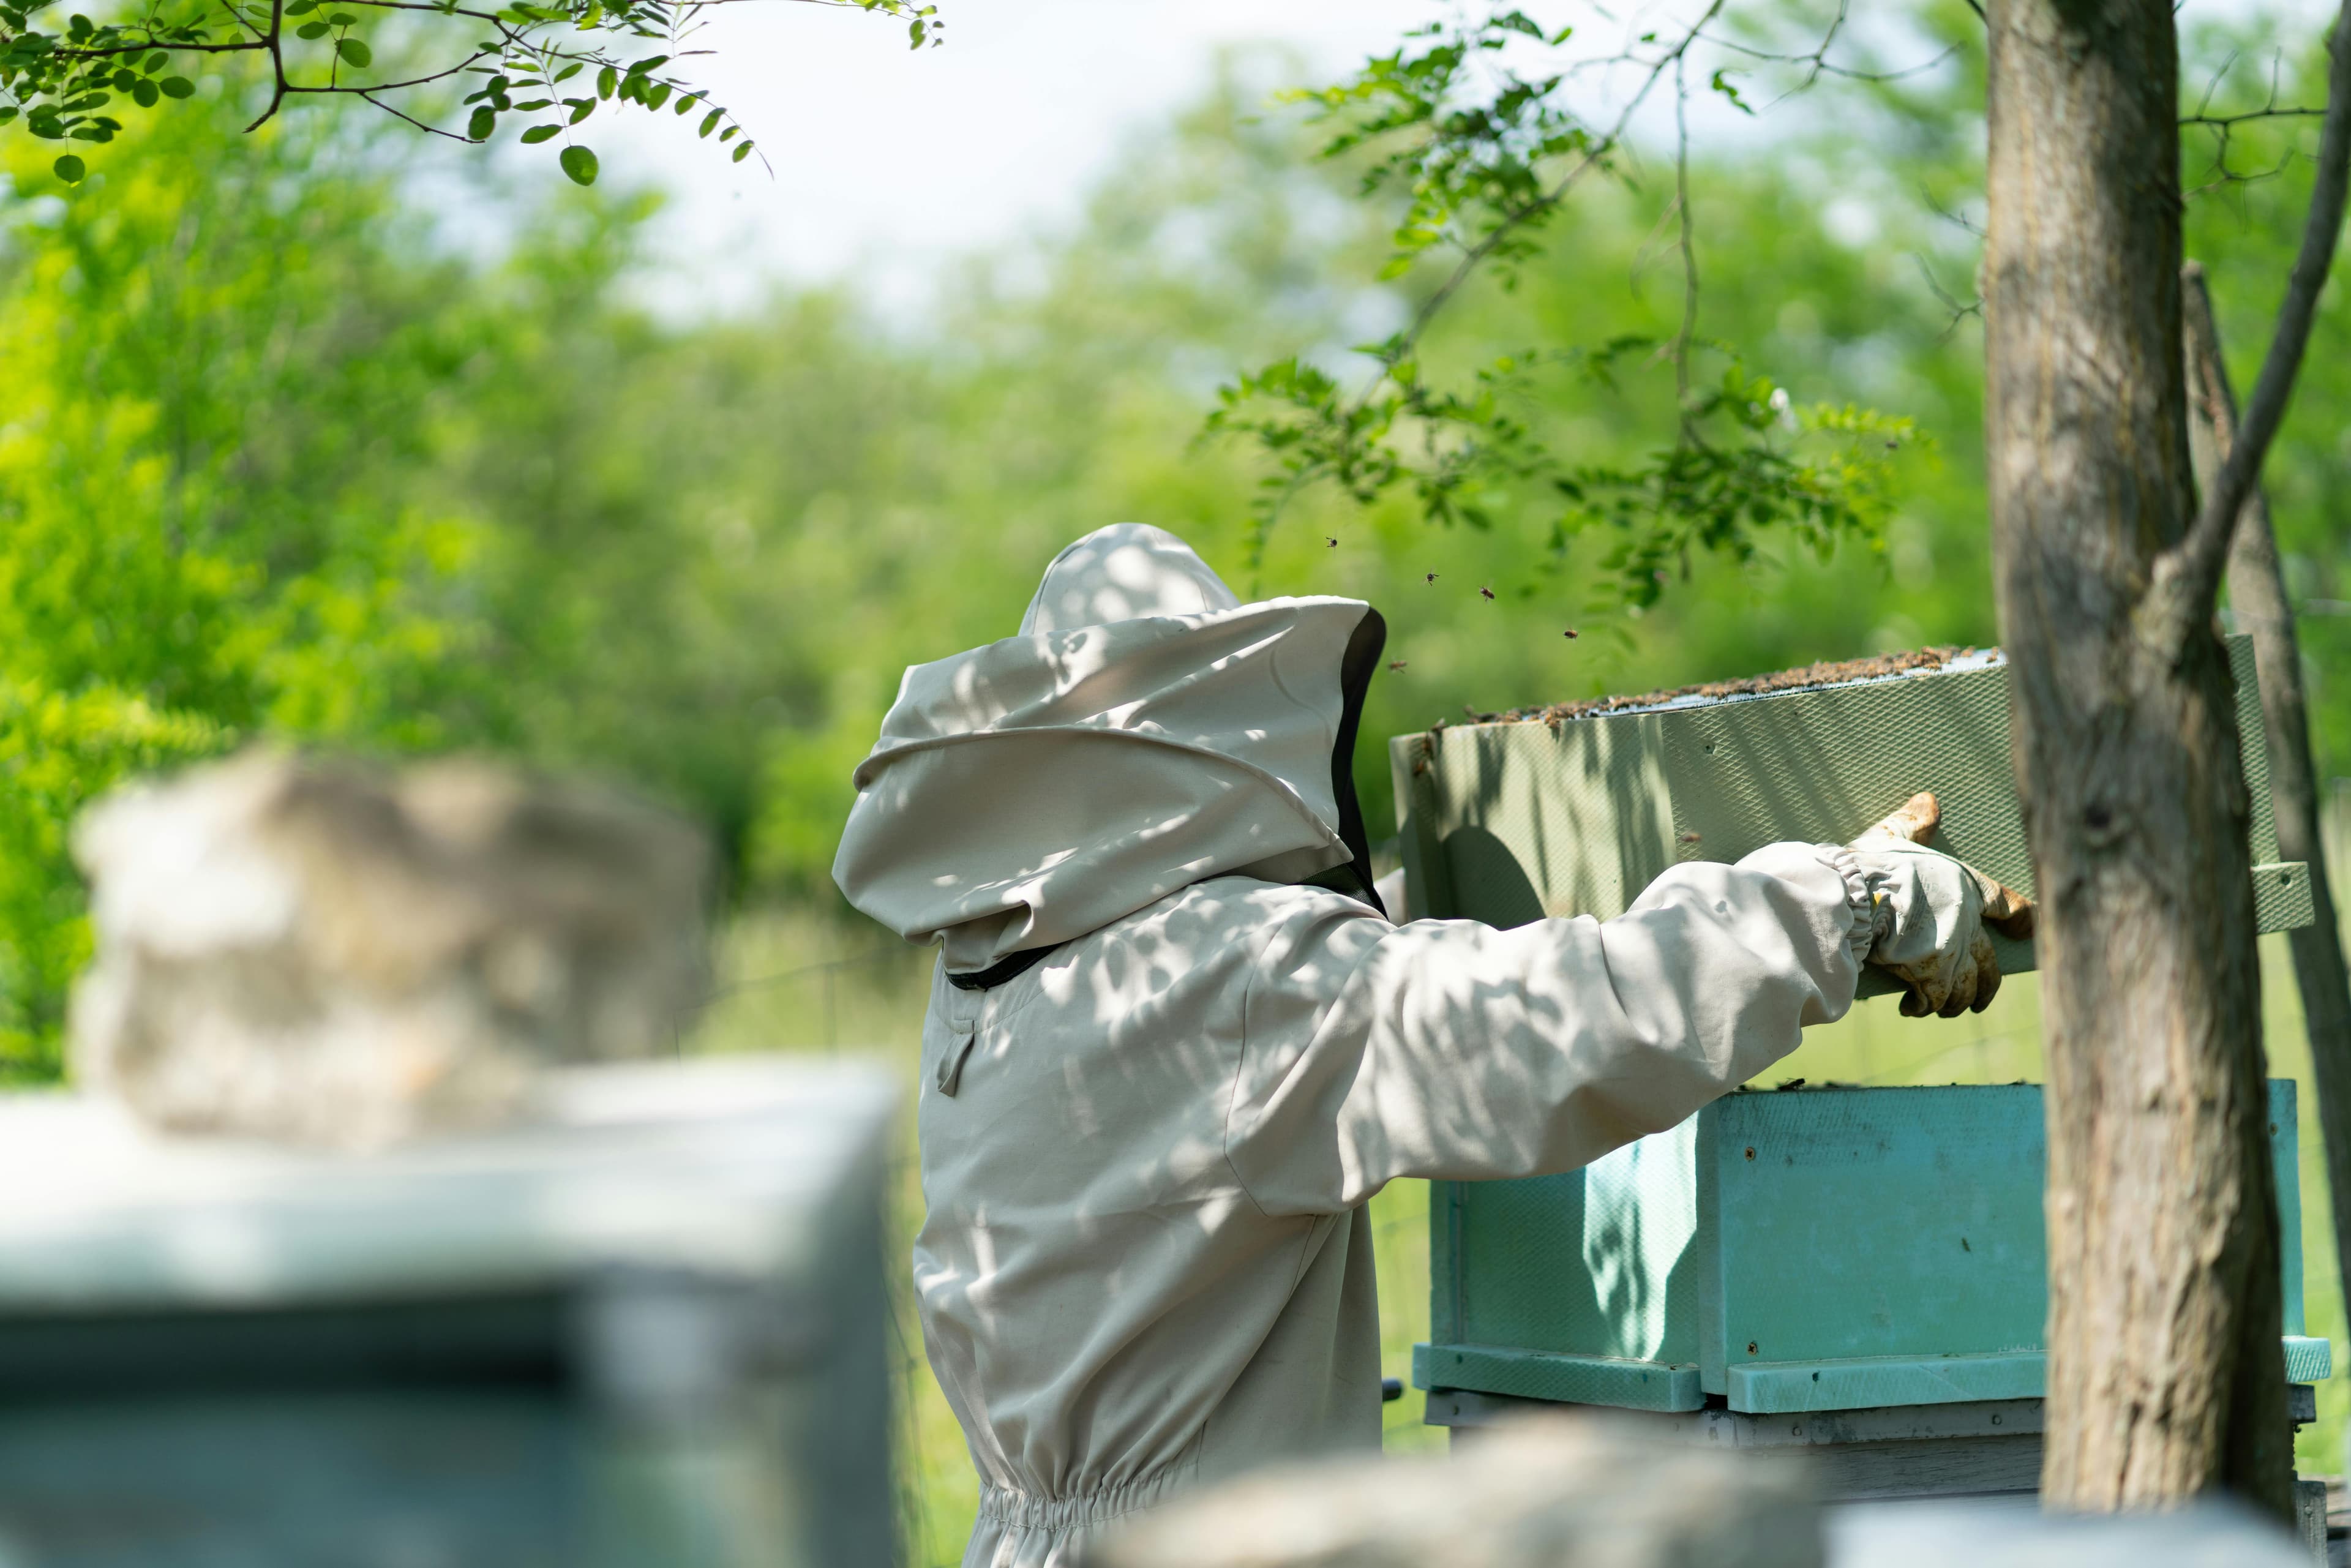
Feeders? They can go away now. By this stage, the bees usually have plenty of nectar outside to collect. No need to keep helping them. At this point, it’s their job to fill the super with honey. That’s how the cycle works, and it keeps the hive healthy and strong. Each step builds on the last. Bees just know what to do.
4.7 Harvesting Honey
Harvesting honey is simple once you know what to look for. If most of the honey cells are capped—around 80% to 90%—it’s usually good to go. That wax cap is a natural sign. It keeps the honey fresh and stops it from fermenting. I always check for those sealed cells before touching the hive. Pictures help, especially when you're new.
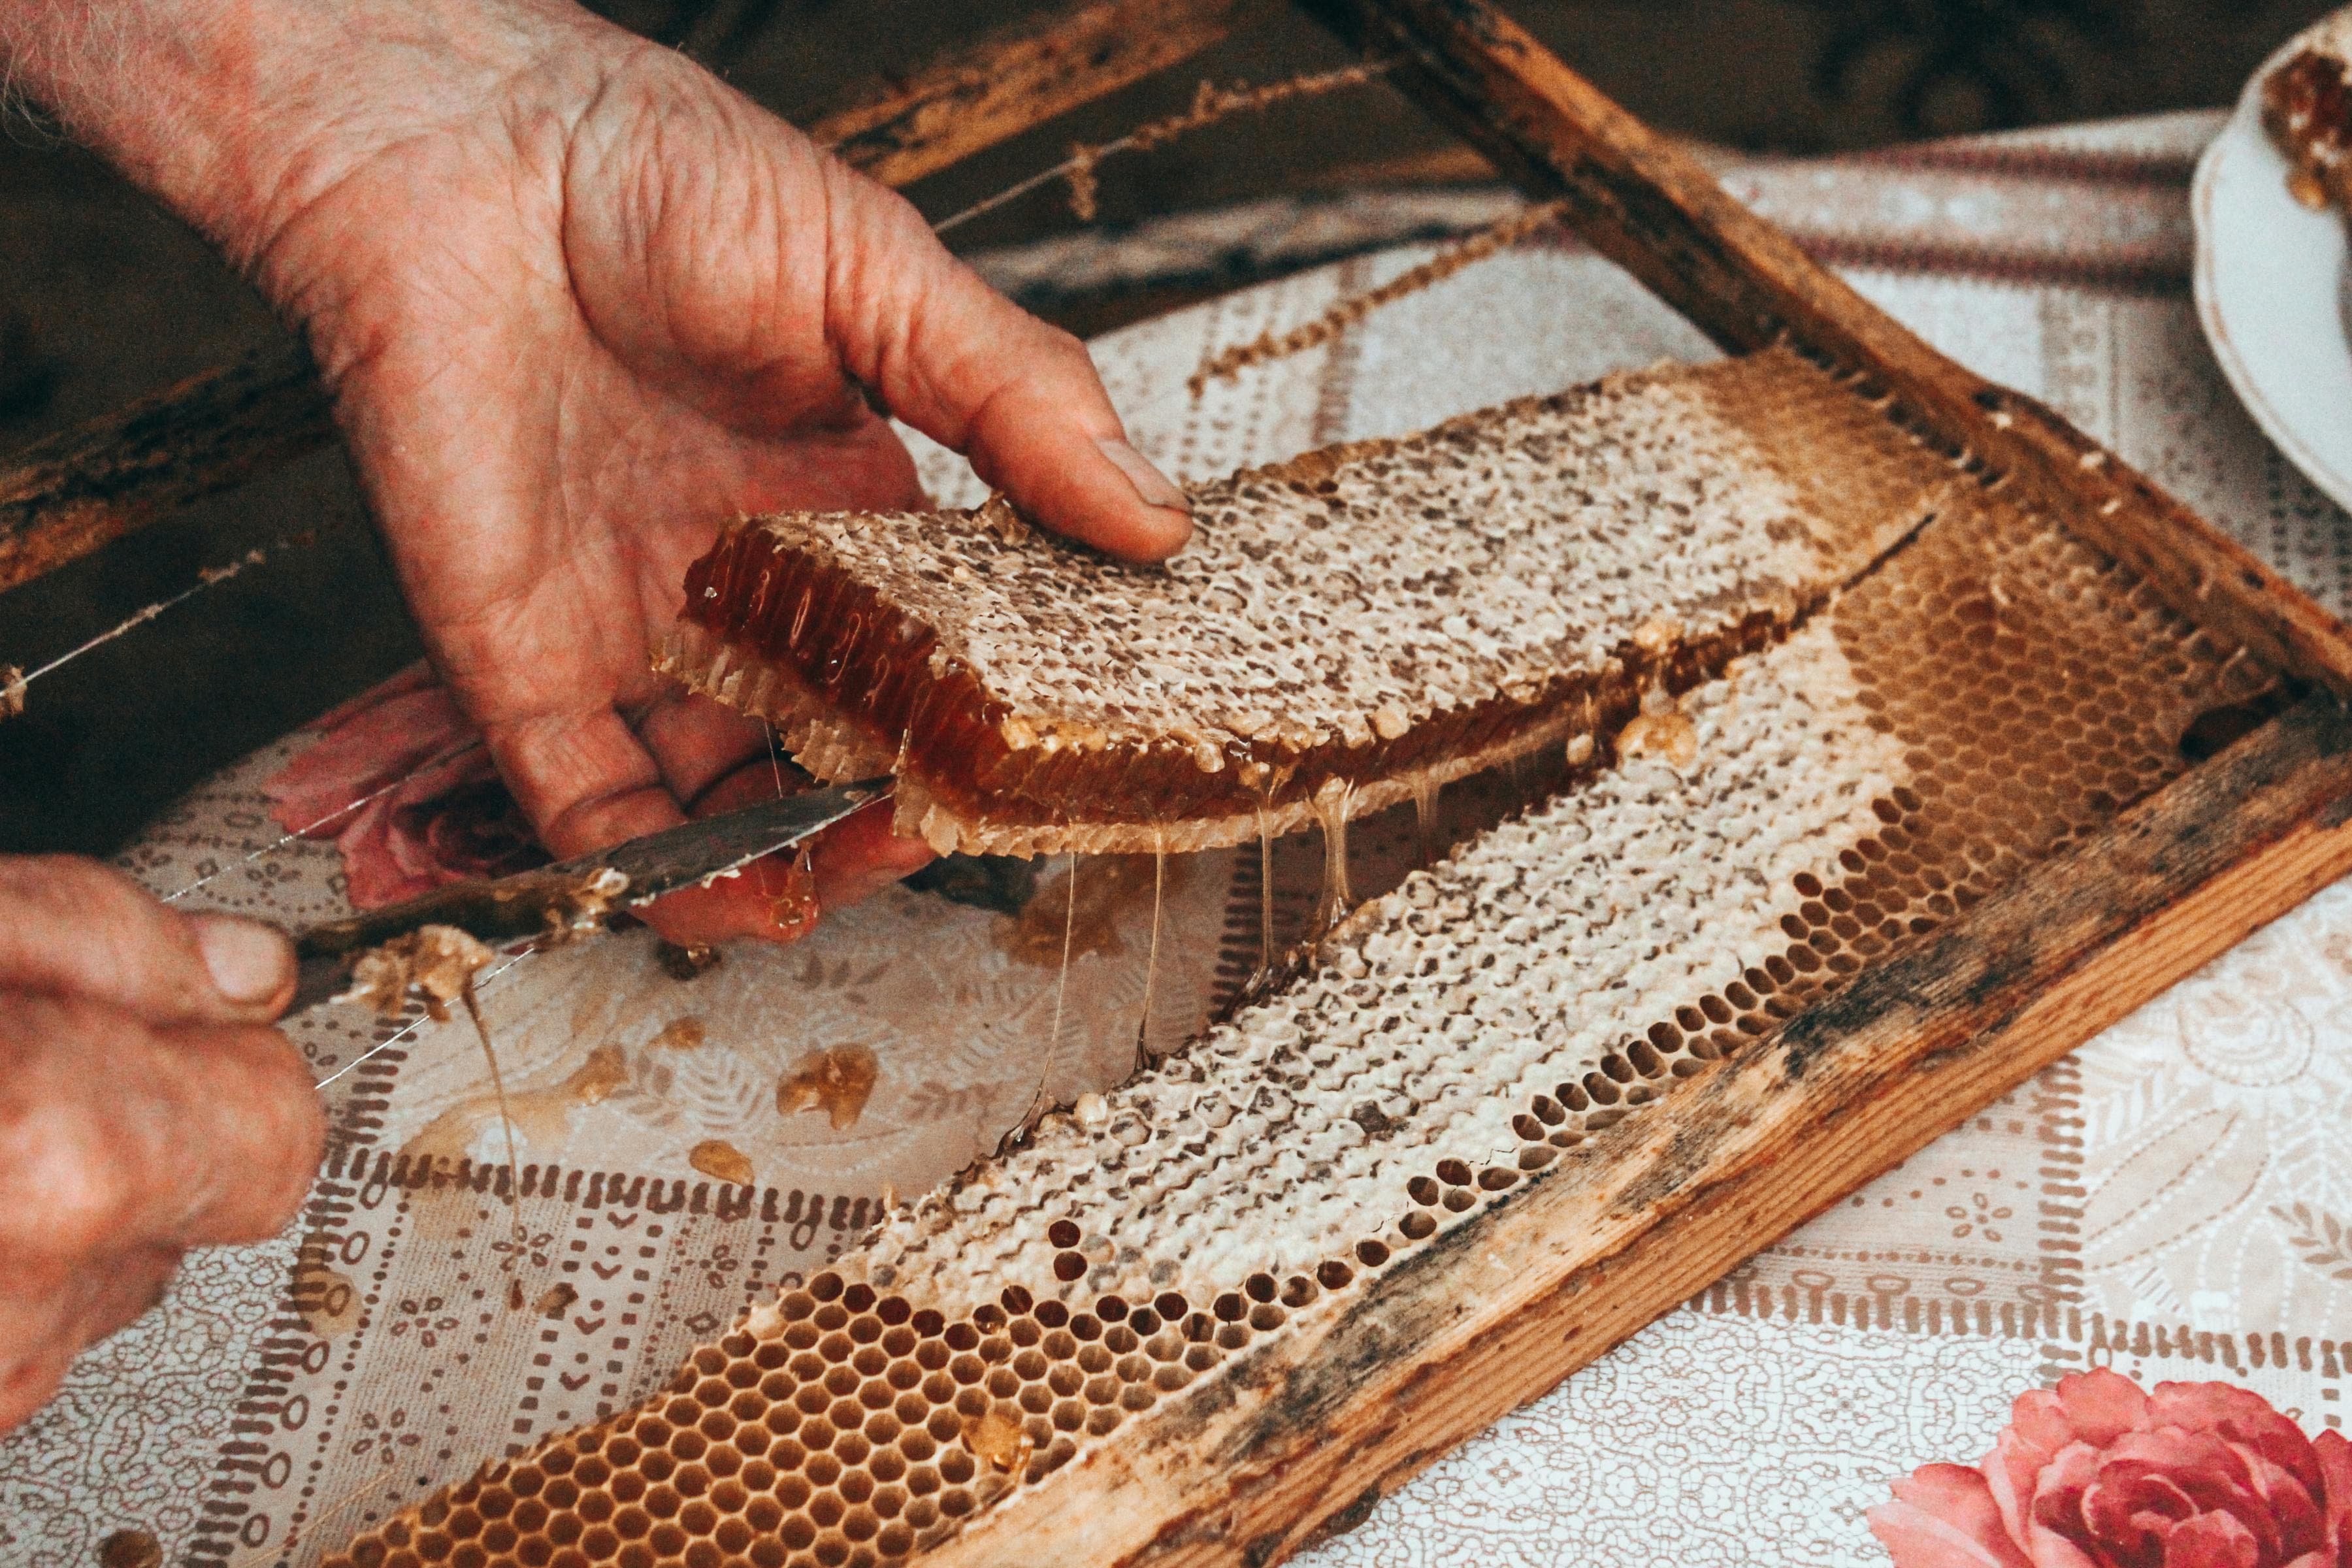
There’s more than one way to extract honey. First, there’s the honey extractor. It’s like a spinning machine. Frames go in, and the honey comes out without hurting the comb. Bees can reuse it later, which is nice. It works fast, too. But there’s another way: crush and strain. You break the comb to get the honey, then strain out the bits of wax. It’s easy but means the bees have to build a whole new comb. It’s up to you which method feels right, Both work great.
5. Final Thoughts
When I first started with beekeeping, everything felt tricky. Choosing between National or Langstroth hives? That was confusing, too. Over time, though, it gets easier. Bees have their own language, and the more you watch, the more it starts to make sense. Managing hives isn’t scary forever. You get faster, smoother. Mistakes happen, but you learn.
In this guide, I didn’t mention using chemicals for varroa mites. Some folks feel strongly about that topic, and there’s no one right answer. Look into it yourself. Compare options. Weigh them carefully. It’s worth it. People do things differently, and that’s okay. You don’t need to copy anyone—find what works for you. Trying new techniques is smart. Every new thing you try teaches you something valuable. Over time, it all adds up. The journey can be bumpy, but it’s worth it. Keep learning. Bees are amazing. You’ll see.
Happy beekeeping!
